Installation Center
BioGrids provides a streamlined installation process for individuals and institutions. Follow the steps below to get your environment set up.
Step 1: Prerequisites
Before installing, ensure you have your consortium credentials ready.
Join the Consortium Installation Keys
If you previously requested keys, please check your email for your existing credentials before requesting new ones. If you have lost your keys, you can use the Lost Keys form to have them resent.
- System Check: Verify your machine meets the System Requirements.
Step 2: Choose Your Installation Type
Personal Installation
Best for: Individual researchers installing specific software on workstations or laptops. - Select only the applications you need. - Control your own update schedule. - Smallest disk footprint.
Site Installation
Best for: Institutions or labs providing BioGrids to many users via shared storage (NFS). - Complete software collection (800+ apps). - Automated monthly updates. - Centralized management for research groups.
View Site Installation Details
Step 3: Download & Activate
Select your preferred interface below to see the download links and activation steps.
Best for: Desktop users who prefer an intuitive visual catalog.
-
Linux
-
macOS
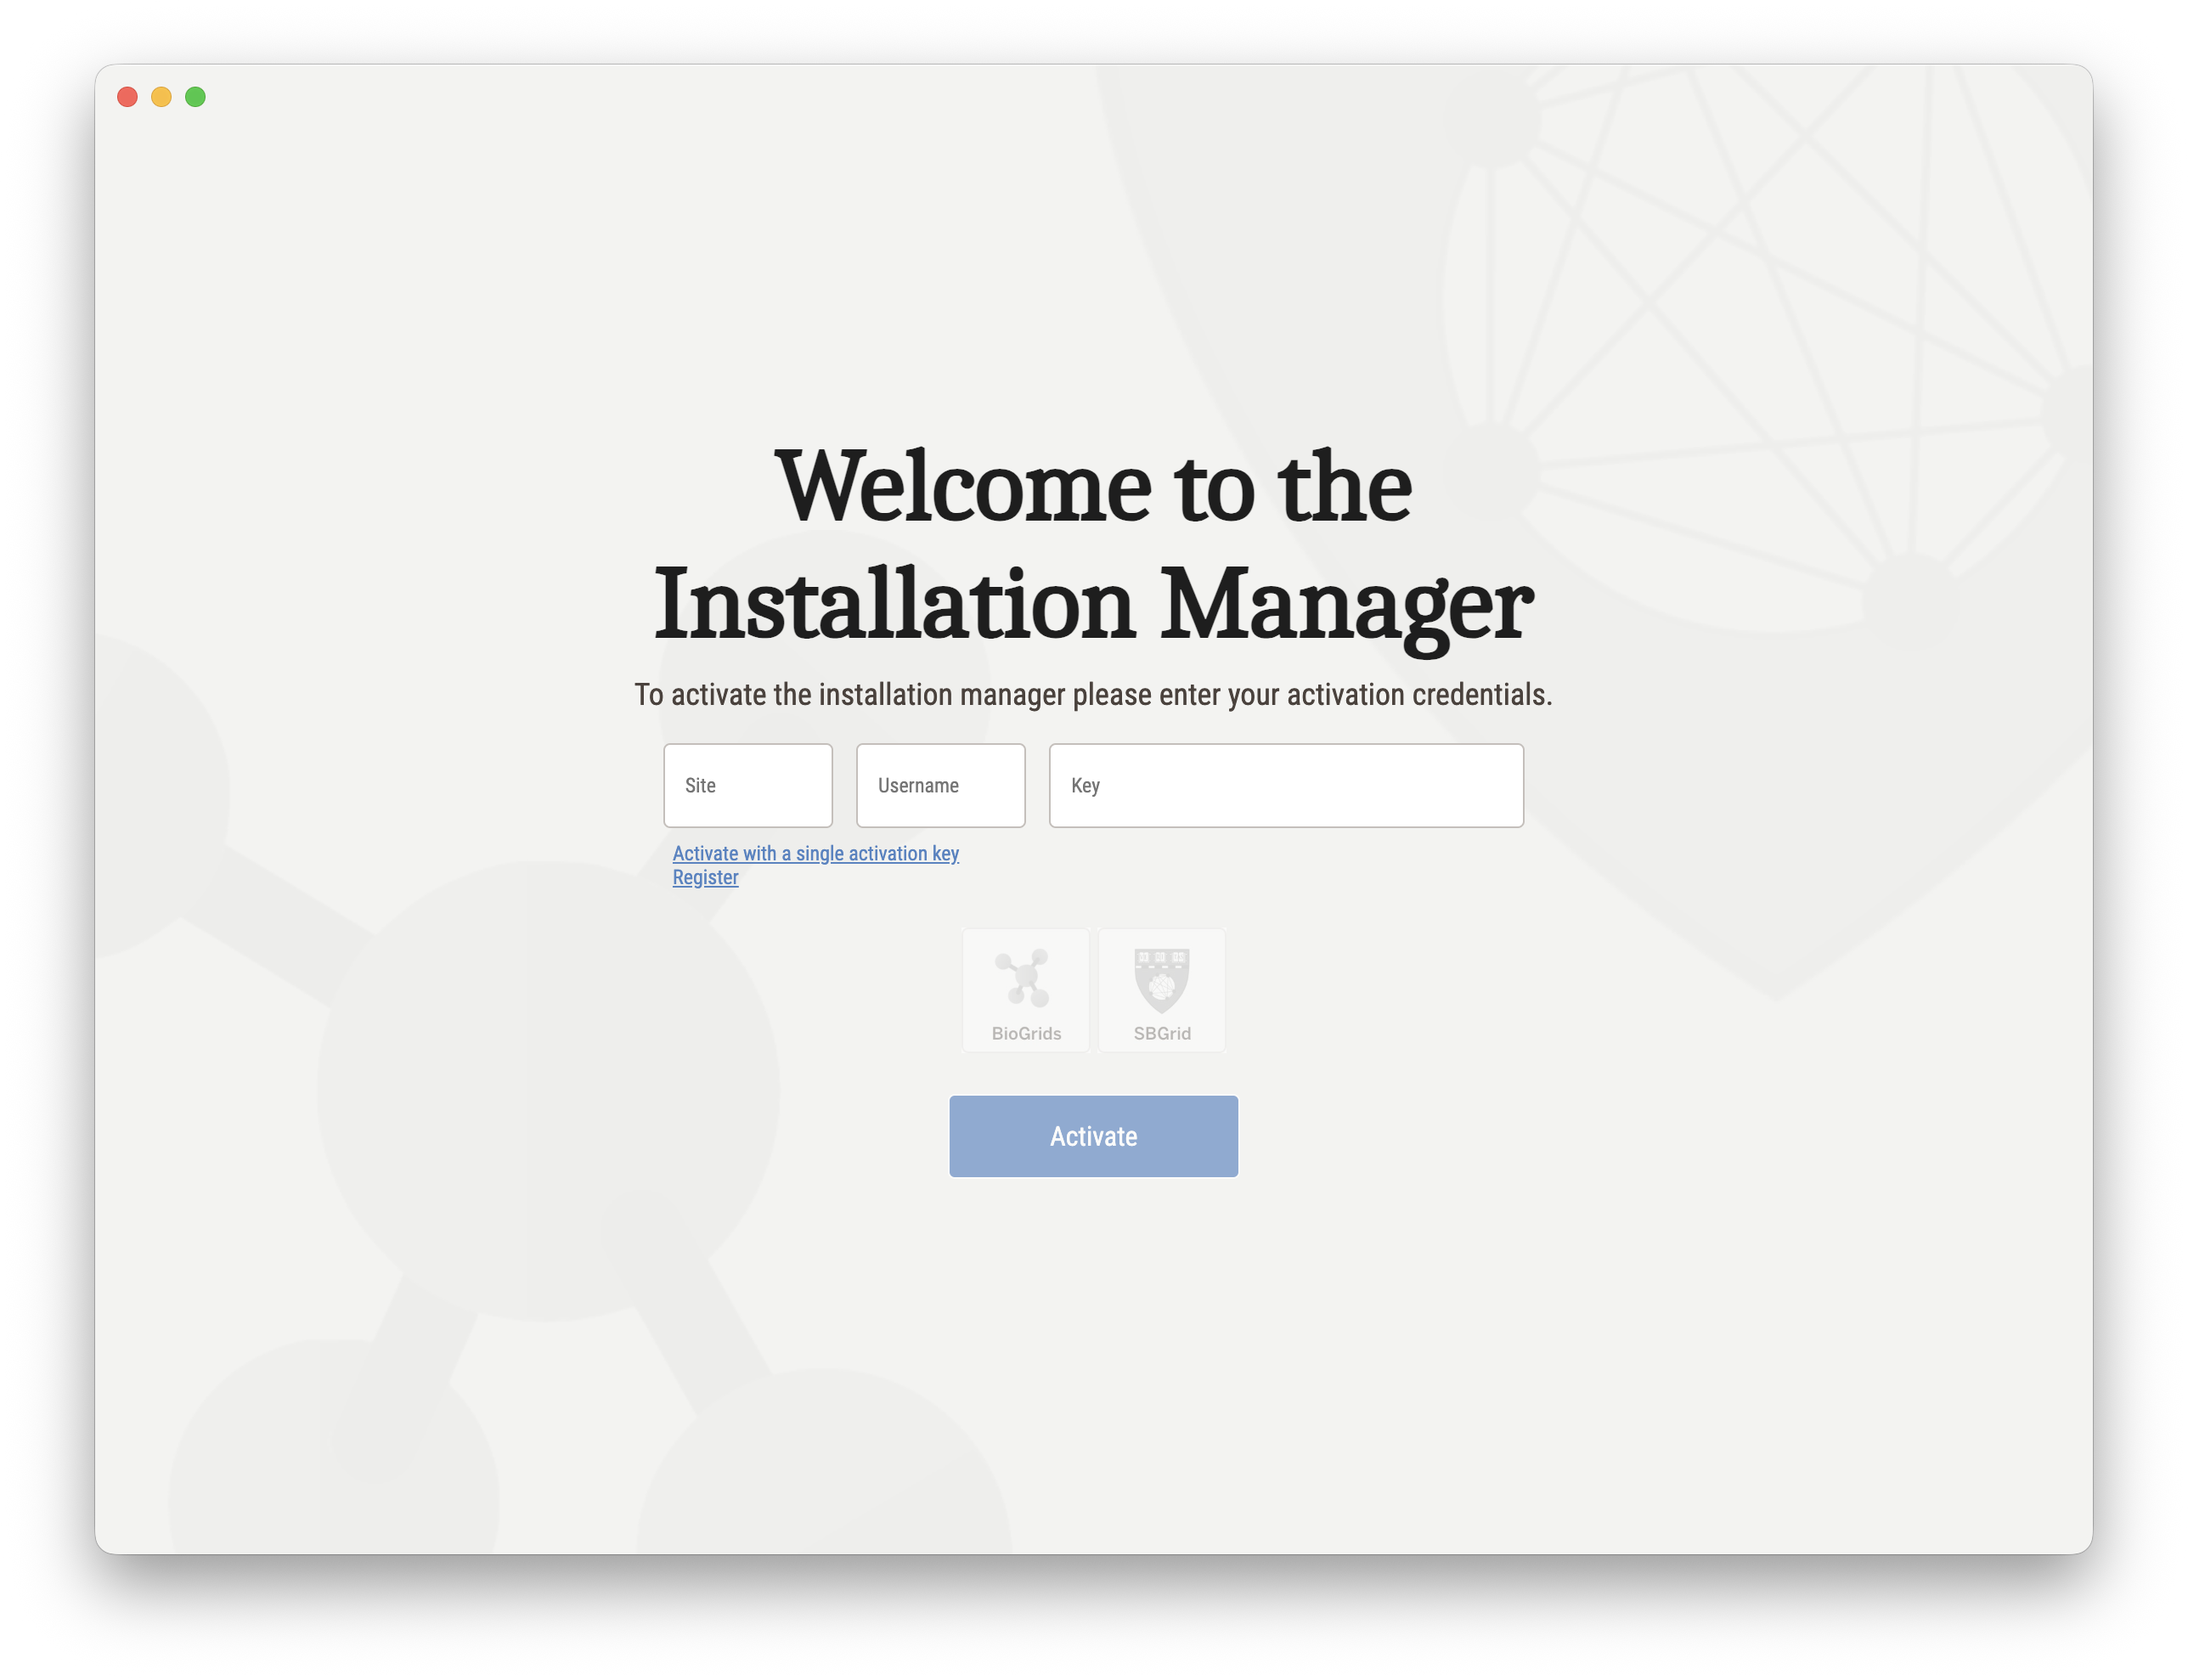
Activation
Simply launch the app and enter your site name, username, and key in the startup wizard.
macOS Users
A system reboot is required after the first activation to enable the /programs symlink.
Best for: Advanced users, server deployments, and automated pipelines.
-
Linux binary
-
macOS (Intel)
-
macOS (ARM)
Activation
Run the tool in your terminal:
Step 4: Install Software
Once activated, you can begin adding software to your collection. Installation will proceed in the background and may take a significant amount of time depending on the number of packages selected.
Step 5: Verification
After installation, initialize your shell to verify everything is working.
Example (samtools):
Example (sbinfo):
How was your experience?
Was the installation smooth? We're constantly improving BioGrids and your feedback helps.
Step 6: User Manual
Now that BioGrids is installed and verified, consult the User Manual to learn how to manage software versions, set up your shell environment, and start running applications.
Support
If you encounter errors during installation, please consult our Troubleshooting Guide or contact our technical team: